

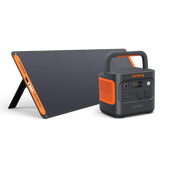
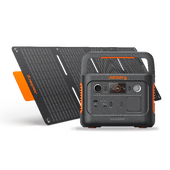
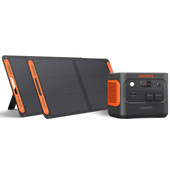
Solar Generator

33% OFF
33% OFF
Solar Generator 3000 v2
3072Wh | 3600W
43% OFF
43% OFF
Solar Generator 2000 v2
2042Wh | 2200W

32% OFF
32% OFF
Solar Generator 1000 v2
1070Wh Capacity | 1500W Output

35% OFF
35% OFF
Solar Generator 500 v2
512Wh Capacity | 500W Output

23% OFF

23% OFF
Solar Generator 300D
288Wh or 90000mAh Capacity | 300W Output
17% OFF
17% OFF
Solar Generator 240 v2
256Wh Capacity | 300W Output

32% OFF
32% OFF
Solar Generator 100 Plus
99Wh | 128W | LiFePO4 Battery
32% OFF
32% OFF
Solar Generator 1000 Plus
1260Wh Capacity | 2000W Output
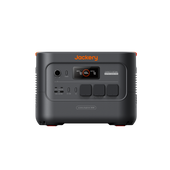
Portable Power Station
32% OFF

32% OFF
Explorer 3000 v2
3072Wh | 3600W
43% OFF
43% OFF
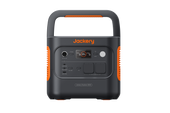
Explorer 2000 v2
2042Wh | 2200W
33% OFF
33% OFF
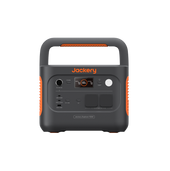
Explorer 1000 v2
1070Wh Capacity | 1500W Output

40% OFF
40% OFF
Explorer 500 v2
512Wh | 500W | LiFePO4 Battery

25% OFF
25% OFF
Explorer 300D
288Wh or 90000mAh Capacity | 300W Output
16% OFF
16% OFF
Explorer 240 v2
256Wh Capacity | LiFePO4 Battery
40% OFF
40% OFF
Explorer 100 Plus
99Wh Capacity | LiFePO4 Battery
Explorer 300 Plus
288Wh Capacity | LiFePO4 Battery
30% OFF
30% OFF
Explorer 1000 Plus
1264Wh Capacity| LiFePO4 Battery
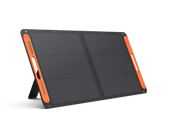
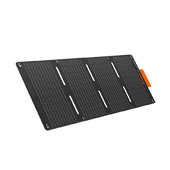
Solar Panel
Accessories
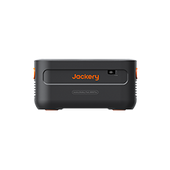
Battery Pack 2000 Plus
For Explorer 2000 Plus

Battery Pack 1000 Plus
For Explorer 1000 Plus

Carrying Case Bag (Mini size)
Compatible with 300D & 100 Plus

Carrying Case Bag
Size S/M/L

Extreme Guard Carrying Bag
Compatible with 3000 v2

Messenger Bag

102W Charger

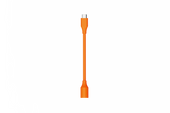
DC Extension Cable
For Jackery Foldable Solar Panels

Car Charging Cable
For 100 Plus/300 Plus/500/1000 v2, etc

12V Automobile Battery Charging Cable

Solar Panel Connector
DC8020 to USB-C
For Explorer 100Plus/300Plus/240V2/1000V2.

DC8020 to DC7909
For the old Explorer 240/500/1000
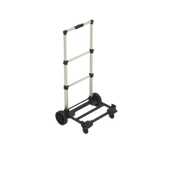
Folding Trolley
Compatible with 3000 v2

Foldable Trolley
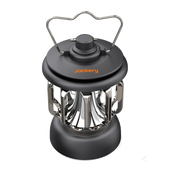
Retro Lamp

Baseball Cap

Adjustable Strap
For Explorer 300D

140W Charging Cable for 300D
Designed for Explorer 300D


